Methods for dendrochronolocial analyses
Wood as an object of investigation can appear in many different forms. On one hand we often encounter wood more or less in it´s native form (for example in posts and roof beams), on the other, mankind has learned throughout the centuries to artistically process and creatively use this important raw material (for example in music instruments and objects of art).
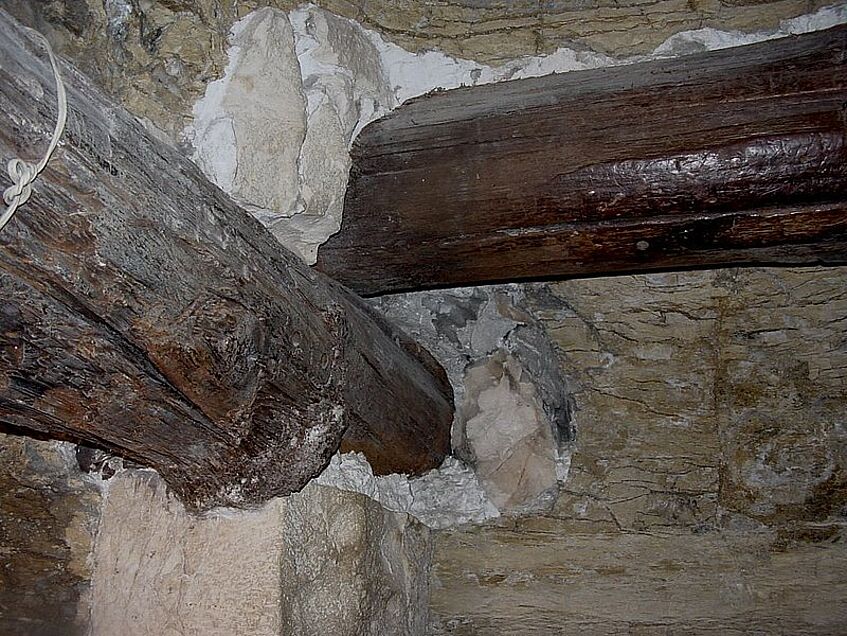
Beams in the pyramid of Djoser (Sakkara, Egypt)
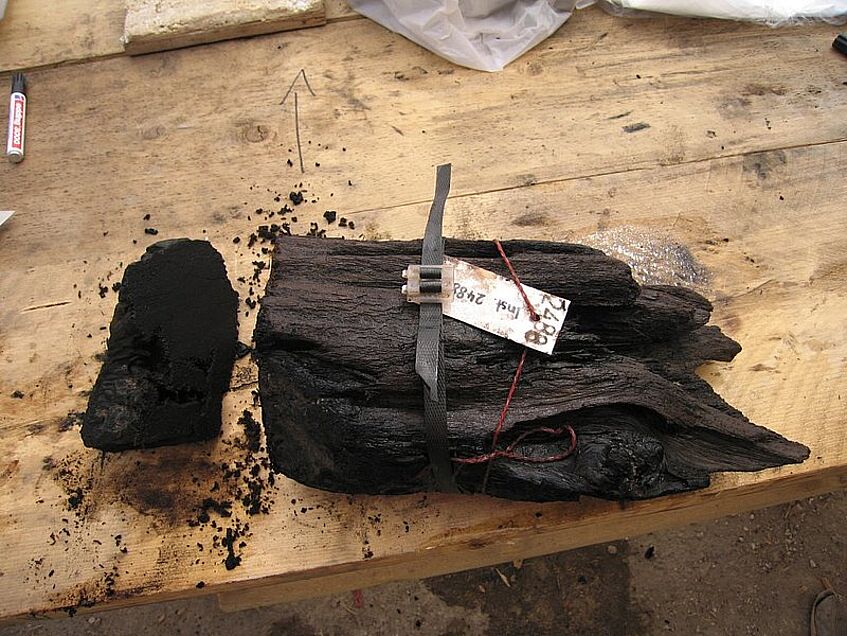
Bronze Age Charcoal (Qatna, Syria)
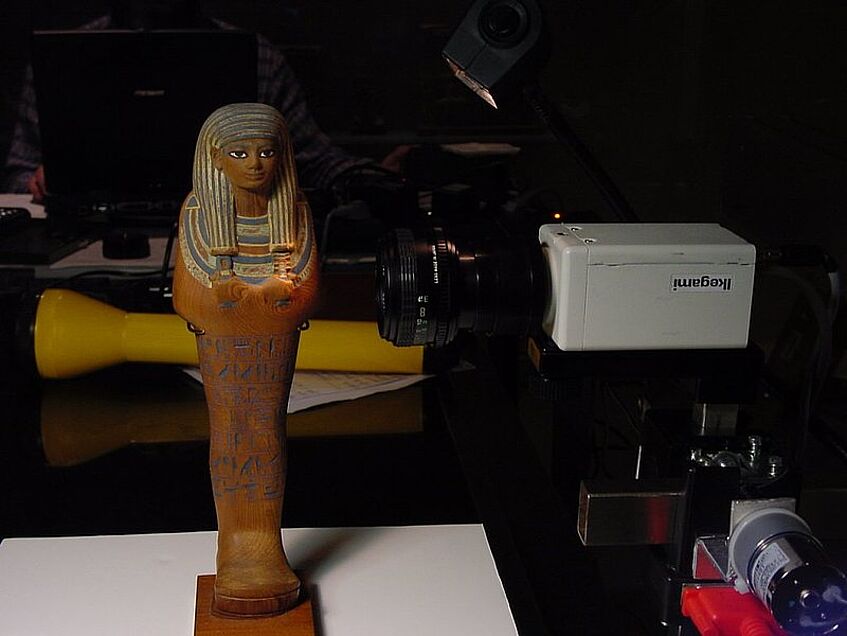
Ushepti from the pharao Amenothep III burial (Metropolitan Museum, New York)
This variety of possible manifestations of the material requires very different examination methods. As the VIAS Dendolabor has been developing new dendrochronological analysis methods for more than 10 years, we have a variety of established devices and methods available today.We are constantly working on the further development of our tools and are happy to make new methods available for other laboratories. For information on the tools and equipment we have developed and commercially available, please click here.
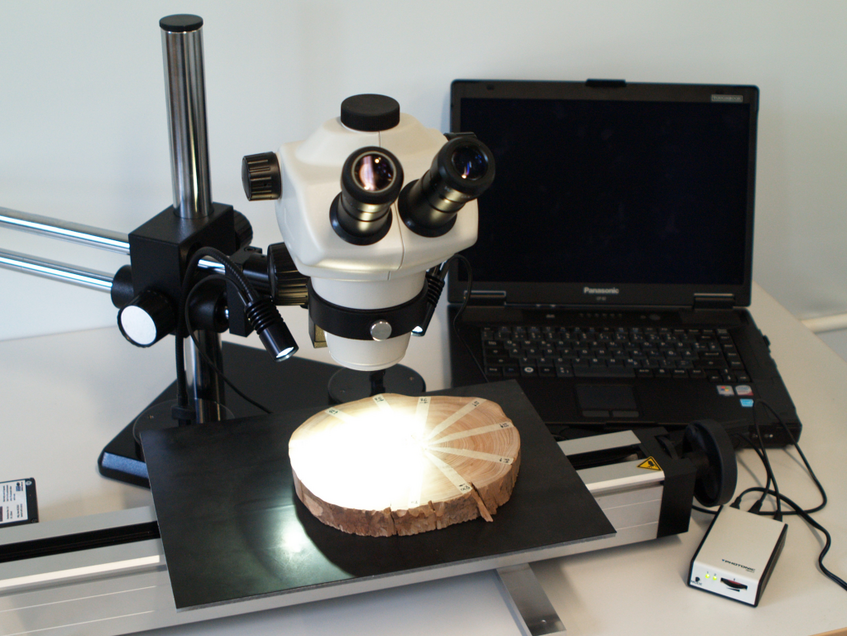
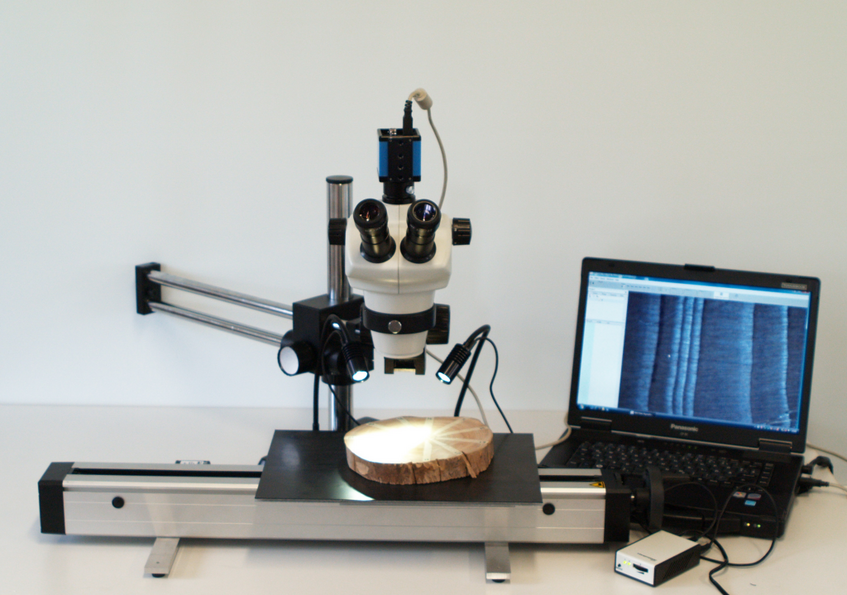
Measuring table with binocular
Measuring table with binocular
The classical method of measuring wood samples is based on the examination of prepared objects under the binocular microscope.
The sample is placed on a measuring table and is moved with a handwheel under the microscope. These movements are measured with an accuracy of 1 / 100mm and transferred to a computer. The operator decides on the basis of the microscopic image on the position of the tree ring demarcations.
- Well suited for objects with preparable surfaces, even with narrow annual rings (depending on the lens of the microscope and the resolution of the measuring device), conditionally suitable for charcoals (poor contrast values).
- Disadvantage: After measuring a sample, the result is only one set of ring widths, no cross-checking and correction of a measurement possible.
Measuring table with digital camera
Measuring table with digital camera
A version of the measurement method described above is the combination of a measuring table with a binocular with a camera adapter or a digital camera with high-quality macro-optics.
The operator follows the measurement by observing the macro live image on the screen (via the displayed reticle). The actual surveying process remains the same, but when a measurement is triggered, a high-resolution image is saved in the computer. Together with the position information, errors (incorrectly interpreted tree ring demarcations) can be detected and corrected later on the basis of the resulting image series.
High-resolution video cameras (1.2 - 6MPx) with C-mount interchangeable optics and fast USB or FireWire interface can be used.
A particular advantage of this method is the simultaneous observability of an area of the sample by several people, which is particularly useful in the training phase of operators.
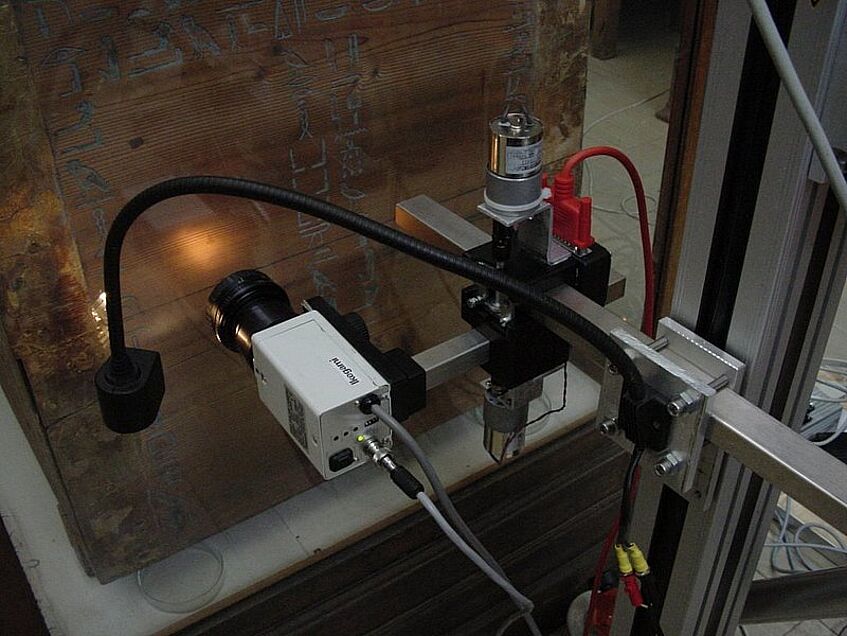
The VIAS VideoTimeTable used to measure a sarcophagus. Click on the pictures to enlarge them.
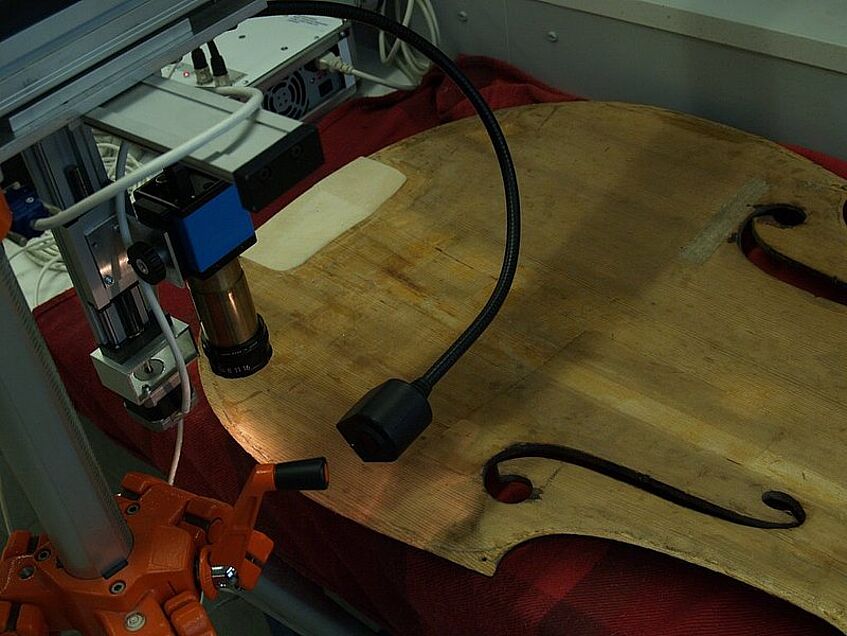
Bass cover plate. Click on the pictures to enlarge them.
VideoTimeTable
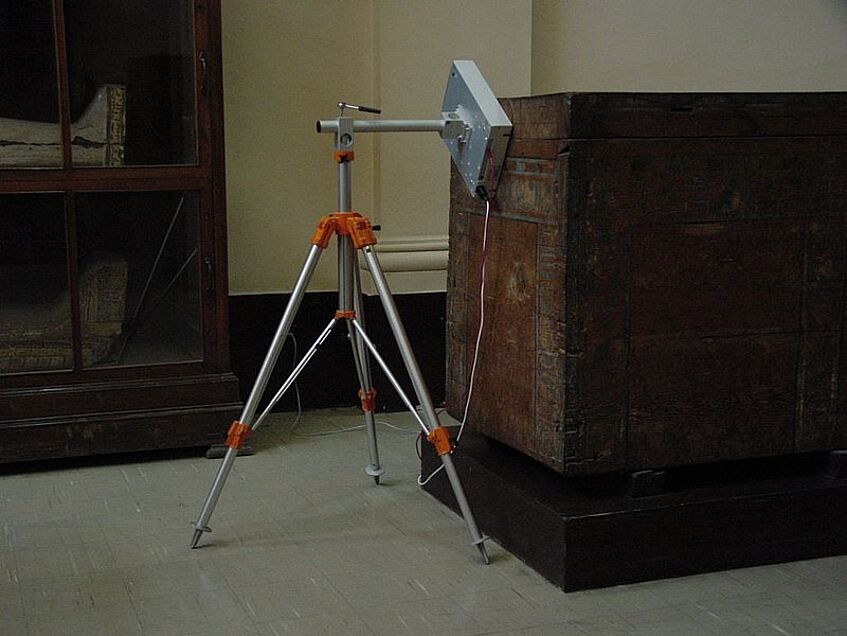
After conducting numerous surveys of sensitive wooden objects in museums around the world as part of the SCIEM 2000 project, we needed to develop a system that would be portable and capable of on-site surveying without compromising the accuracy of the measurements.
This goal could be achieved by reversing the measurement method described above. A digital video camera is mounted on a motor-driven measuring table and moved along the sample. The live video image is displayed on the computer and is used by the operator to determine the tree ring demarcations. The camera is fully motorised and in all axes movable, so allowing the focusing of the image and an up- and down movement along the tree ring demarcations. The digital image is additionally stored for each measurement in order to be able to correct errors later.
Touching the object is not necessary with this method, making it particularly suitable for the use in the exhibition rooms of museums.
Prerequisite for working with the VideoTimeTable is the exact alignment of the measurement equipment to the tree ring demarcations of the object.
The entire measuring device weighs approx. 30kg and can be stored in two transport cases. The measuring table mounted on a sturdy tripod can be positioned in all dimensions.
Scanner
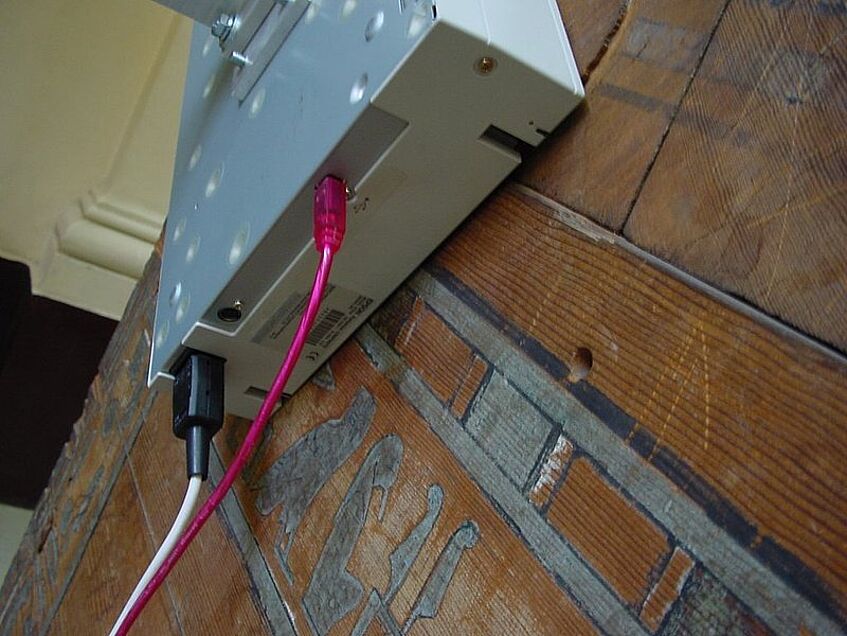
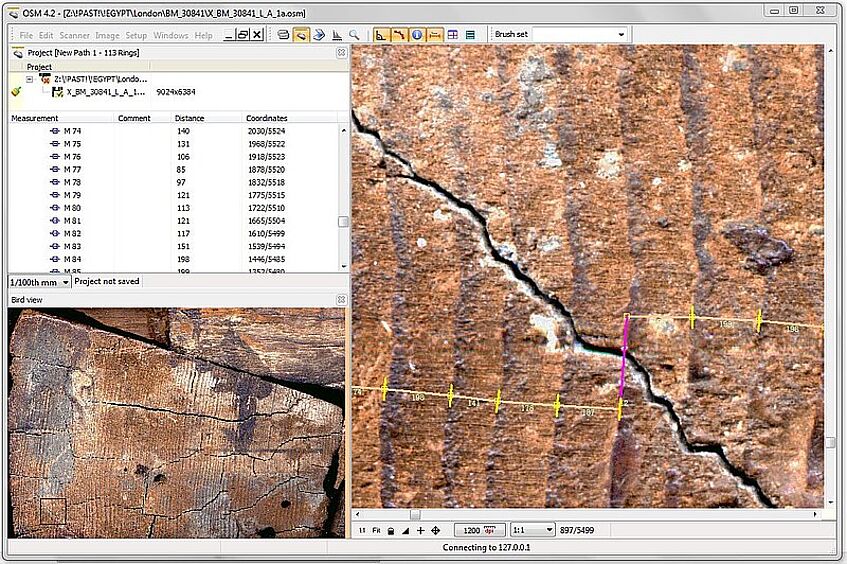
A scanner in use at the Egyptian Museum, Cairo. The scanning process takes only a few minutes, the measurement of the image can be done later in the laboratory.
Scanner
All previously mentioned methods have the disadvantage that the surveying process is only possible if the object is physically available. In the case of in-situ measurement of objects with the VideoTimeTable, a lot of time has to be spent on building up the measuring system and realigning it for each object to be measured. The actual measurement is usually carried out at least twice per object and takes from a few minutes up to several hours, depending on the number of annual rings and the state of preparation of the wood surface.
Due to the technical developments of the past years, another method of surveying has become possible. Commercially available or adapted flatbed scanners are used to capture a high-resolution image of a wooden surface. Modern scanners have an optical resolution of 3200x3200 pixels / inch (dpi, dots per inch) and are thus ideally suited for this purpose. In order to achieve the measurement resolution of 1 / 100mm usual in dendrochronology, an optical resolution of 2540dpi is necessary.
The high-resolution images are measured with special software (SCIEM OSM - On Screen Measuring). The measurements are editable, allowing the detection and correction of errors (incorrectly interpreted tree ring demarcations). The spatial and temporal separation of the scanning process from the actual measurement results in a rational and effective work-flow.
Requirement for the use of scanners are flat, well-prepared wood surfaces. The resulting images have a size of 60 MPx, which places high demands on the hardware used.
Scanning Electron Microscope
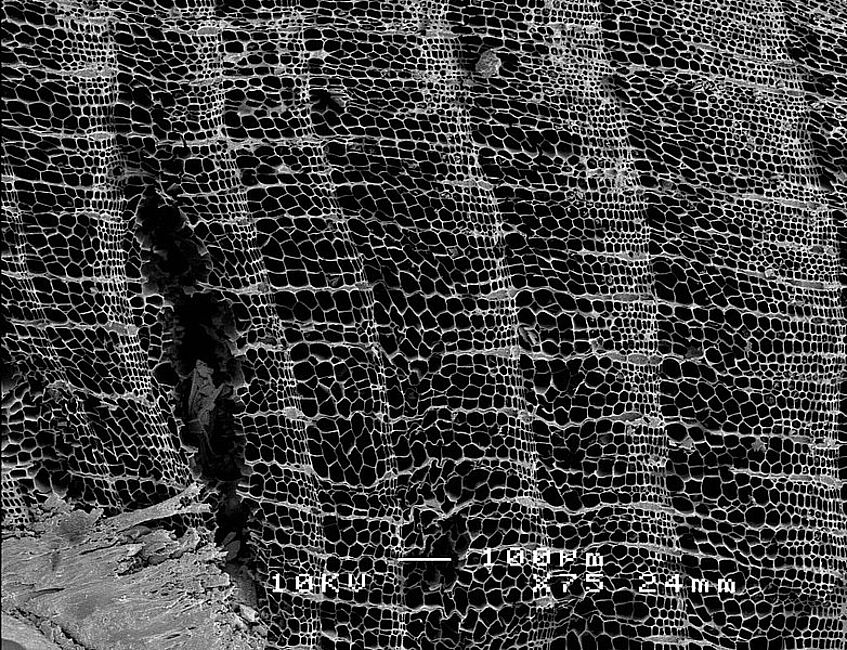
SEM image of an approximately 27,000-year-old charcoal from a fire pit on Wachtberg, Lower Austria
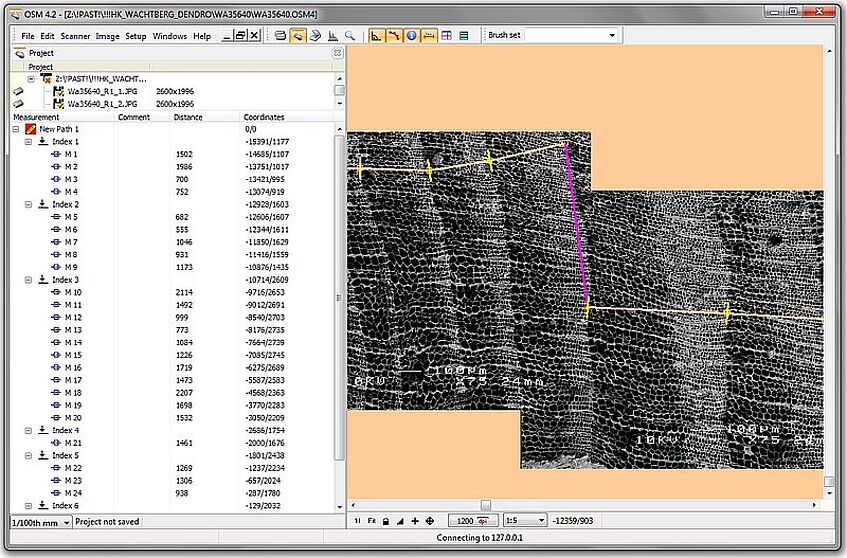
The measurement of combined SEM images is done with the OSM software. The overlapping single images can be seen clearly.
Scanning Electron Microscope
Both optical microscopic investigation methods and the use of flatbed scanners have limitations in the processing of samples with very narrow annual rings and low-contrast (e.g. charcoal).
In order to measure such projects successfully, a new method was developed in the VIAS Dendro-Laboratory, which is based on image acquisition with the help of scanning electron microscopes. In a first step, charcoal pieces are ground, then vapor-coated with a wafer-thin gold layer and introduced into the evacuated sample chamber of a SEM. At moderate magnification (75-120x), the cell lumens become clearly visible. The SEM operator takes overlapping images with a computer. In a next step these images are put together to a mosaic on the computer and measured with the OSM software, like the scanned pictures. Again, the main advantage is to be able to return to the measurements in the subsequent statistical and optical evaluation and synchronisation of the measurements.
However, preparing and working on the SEM is a time-consuming and expensive procedure. The VIAS Dendro-Laboratory thanks the Institute for Paleontology of the University of Vienna for permission to examine our samples on their microscope.

